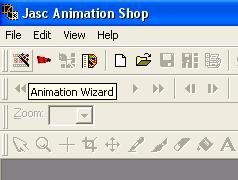
Firstly, click the Animation Wizord Icon in the top left hand corner as shown.
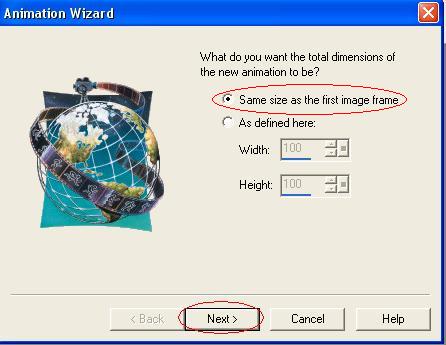
When the first window pops up, select the first option as shown, and click next.
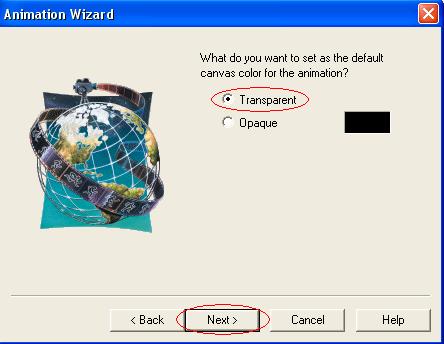
Set the default canvas colour to "Transparent". Click next.
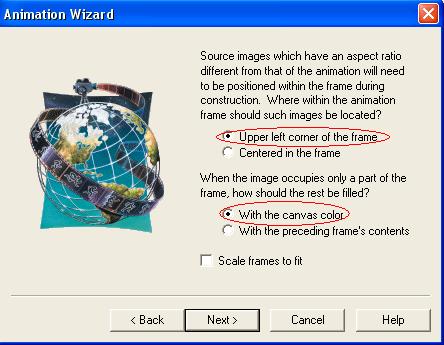
Choose the top options for both questions, as shown, and click next.
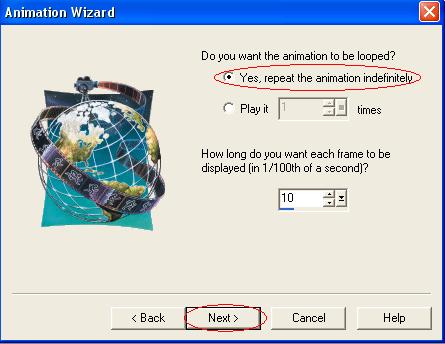
Choose "Repeat the animation indefinately", and choose a length of time for Animation Shop to display each frame for. When making blinkies, the lower the number, the faster it will blink. Click next.
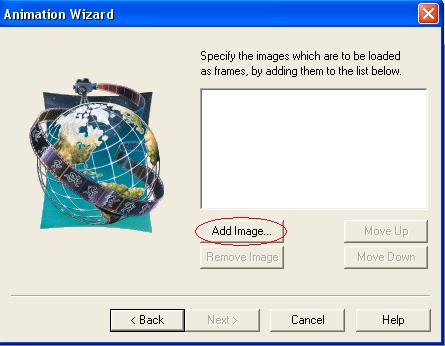
Now it's time to add your frames. Click "Add Images" and find where you have saved your frames. Click "Open" to add them to your screen.
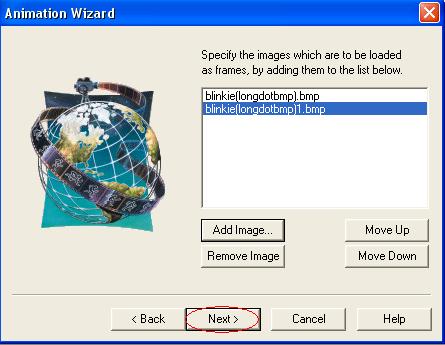
Once you have all your frames in place, click next.
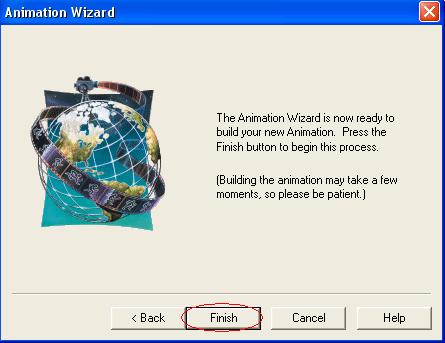
Now click finish.
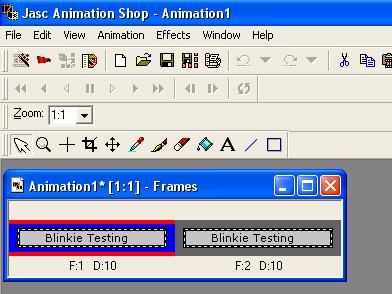
Your two frames should pop up on your screen as shown.
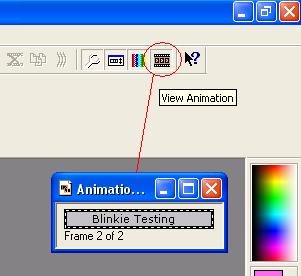
Now click the "View Animation" icon on the left hand side of your screen, as shown. A new window will pop up with your animated blinkie in it.
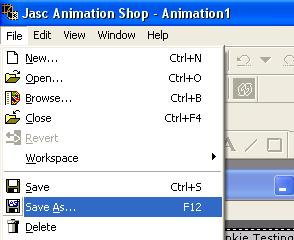
Choose File from the top menu bar, then Save As...
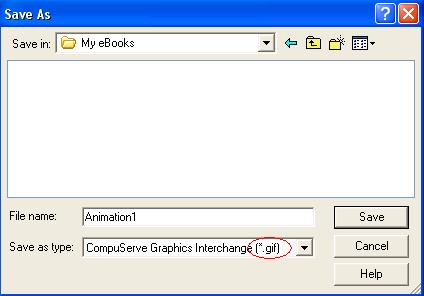
Choose a place to save your blinkie to. Make sure you are saving it as a .gif file, as shown. Click Save.
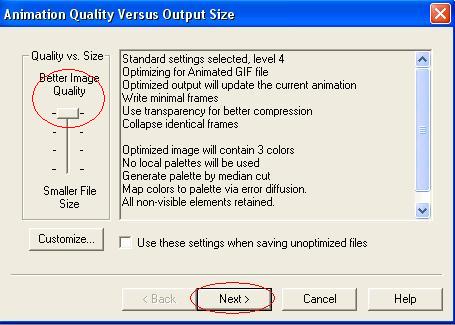
In the next window, ensure that the "Quality vs Size" bar is set to Maximum Quality. Click next.
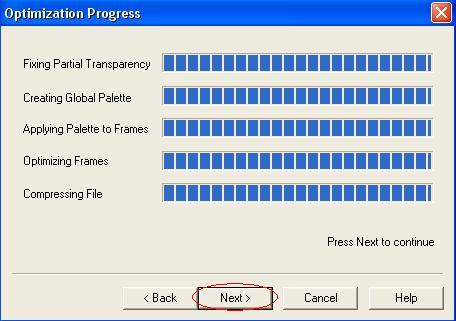
When everything has finished loading, click next again.
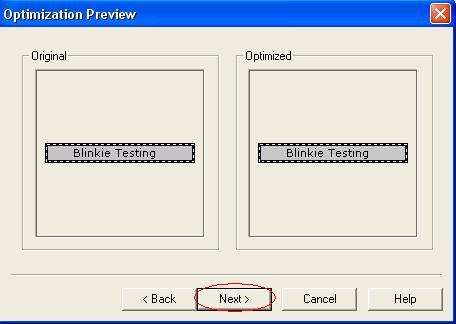
At this point, your animation may lose a bit of colour, but not much. Click next to continue.
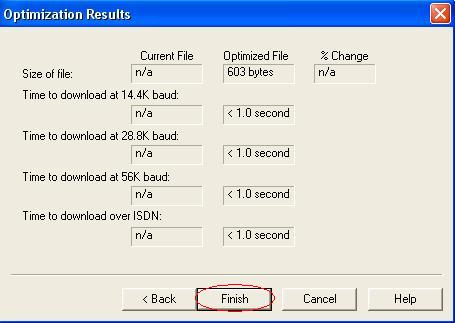
Now click "Finish" and you are done. Well done!